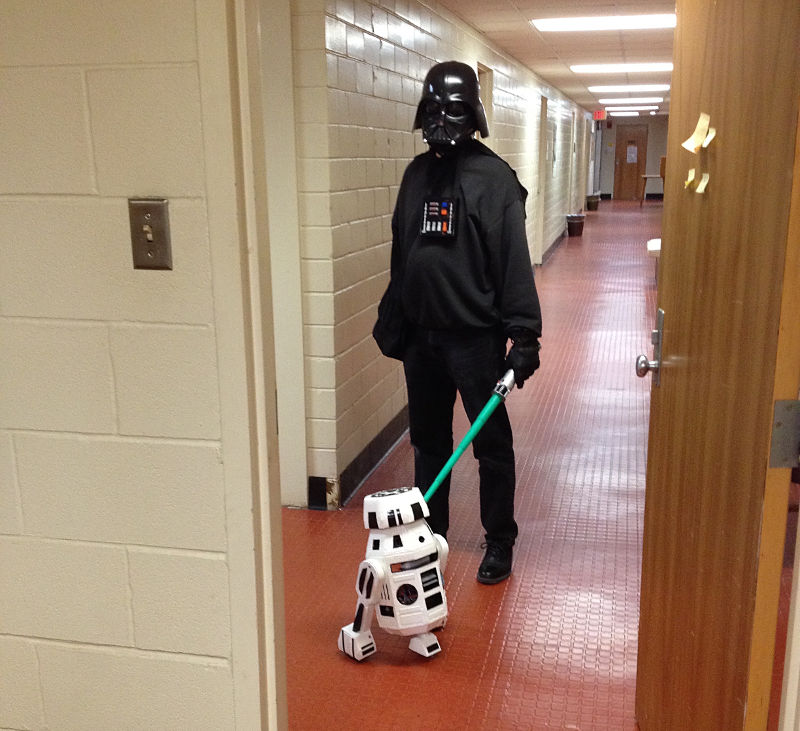
Today, R3-B9 made its first public appearance! Yesterday night, I put some pieces together like the Arduino code for the motors (in the feet) and for the servo (for the head movement). I also inserted and connected one of the four center LEDs and a piezo, to have at least some light and sound. Everything was individually tested and worked. But when everything was combined, the motors stopped working. At first, I was afraid that some cables got disconnected in the “cable spaghetti” that I created on the preliminary breadboard setup. I thought I would never find that. But then I vaguely remembered something about clashes between Arduino libraries, and I googled “Arduino mega servo pin 44”. And right, the first search result http://playground.arduino.cc/Code/MegaServo revealed that using the servo.h library (which I did for the head servo) interferes with using pins 44/45 on the Arduino Mega for PWM (which I used for “enA” and “enB” of the L298N motor controller). Simple solution: I connected the motor controller to different Arduino pins, and everything worked – yeah! Although this is still far from the ultimate goal, the current state has enough “critical mass” to make it fun to watch and to start showing it around. My favorite mode of operation is when it turns on the spot while the head is turning forth and back and the LED is flashing.
And so, today I took my R3-B9 to my PHYS202 class and got a very nice reaction from my students (I should maybe mention, that initially I was hiding behind my son’s Darth Vader mask).

And tomorrow I will take my R3-B9 to the movie theater to watch its cousins BB-8 and R2-D2 in TFA.


