Adding details to body and legs

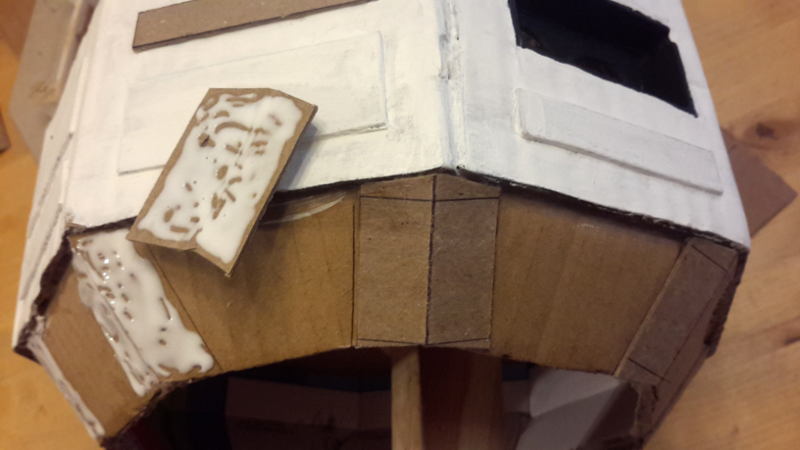
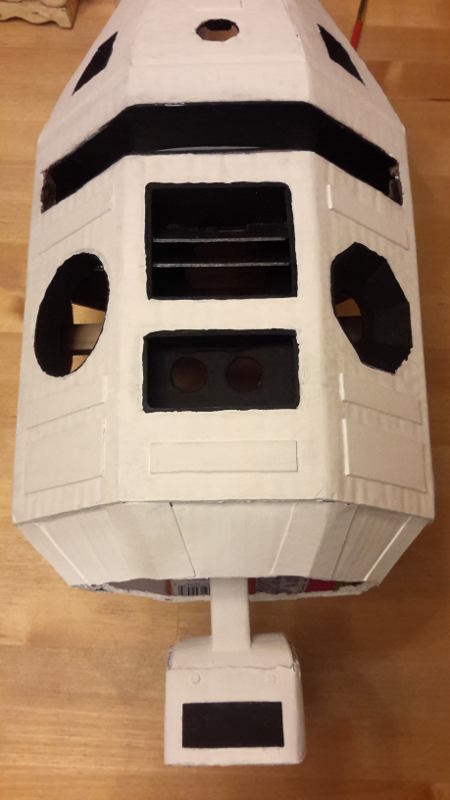
Here come the last details which are added to the body and the legs. To smooth the edges where the cardboard was glued at the bottom, I am adding eight pieces of cardboard to the corners. These hide the overlaps, and they provide some nice additional structure.

p50

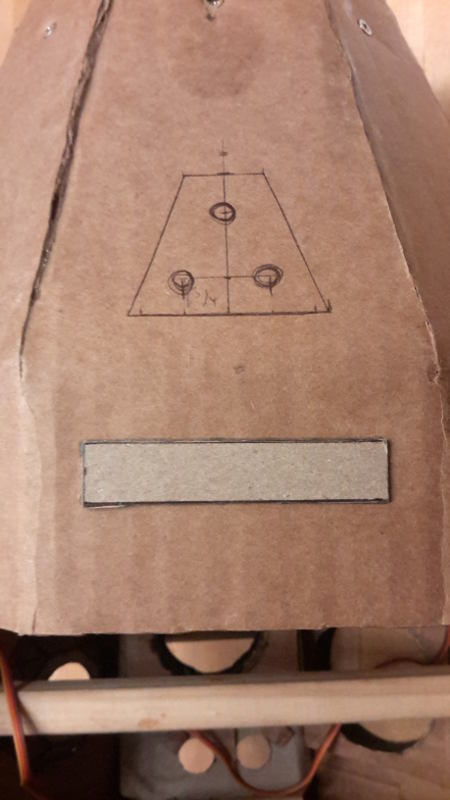
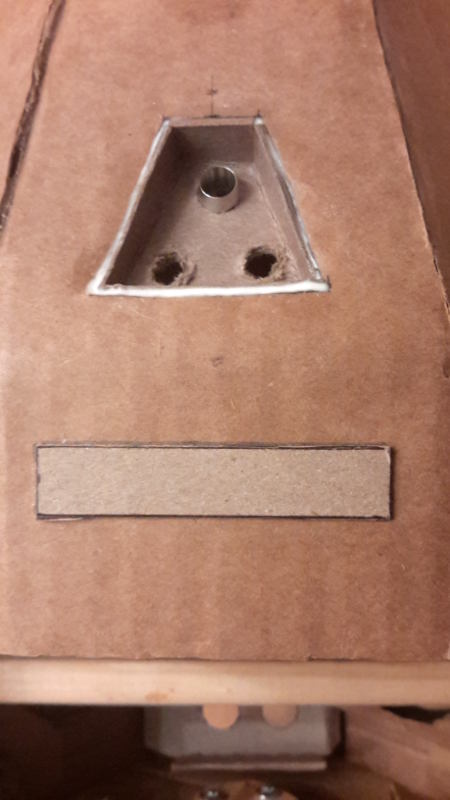
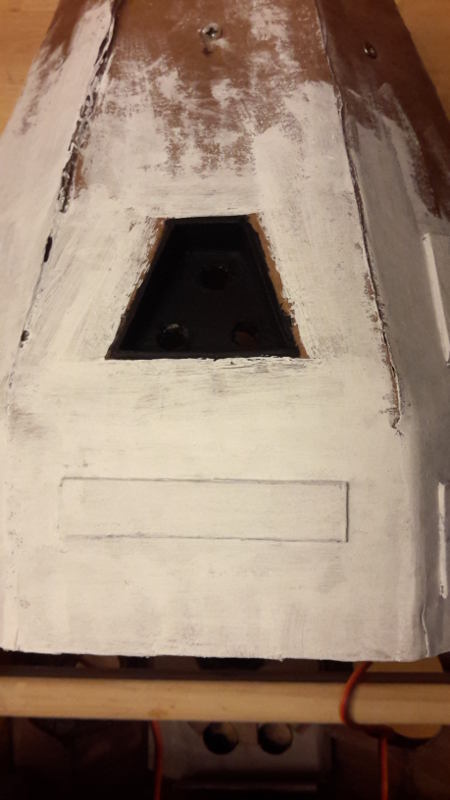
While there is plenty of detail on the front side of my robot, the back side is still empty. Therefore I am adding three LEDs in a recessed mount (as used for the photo sensors and the microphones and also for the ultrasonic sensors).

p47 p48 p49

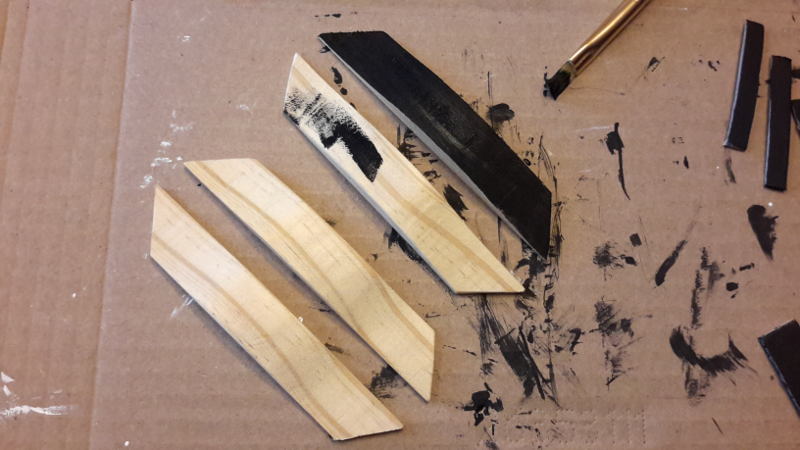
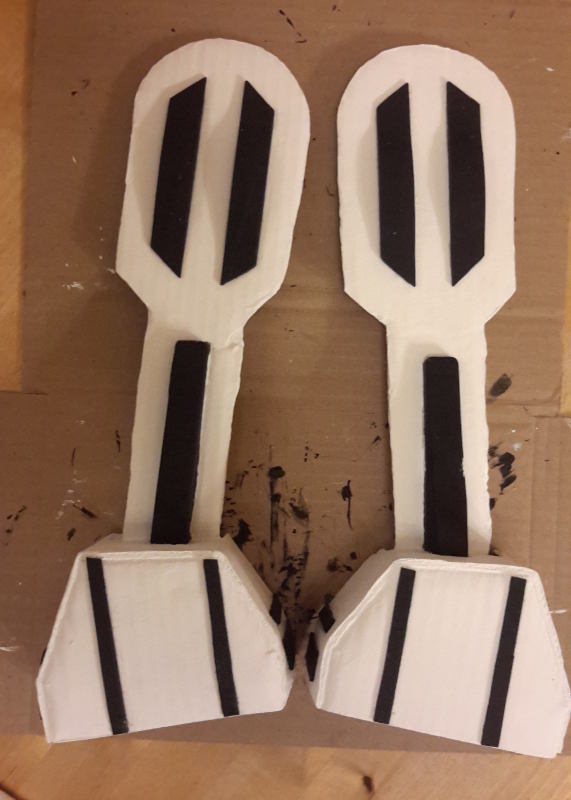
Finally, the legs are still a little boring. I am adding a few curved pieces of thin wood to the upper part, and a few strips of cardboard to the feet, all painted black.

p53 p52 p54 p55

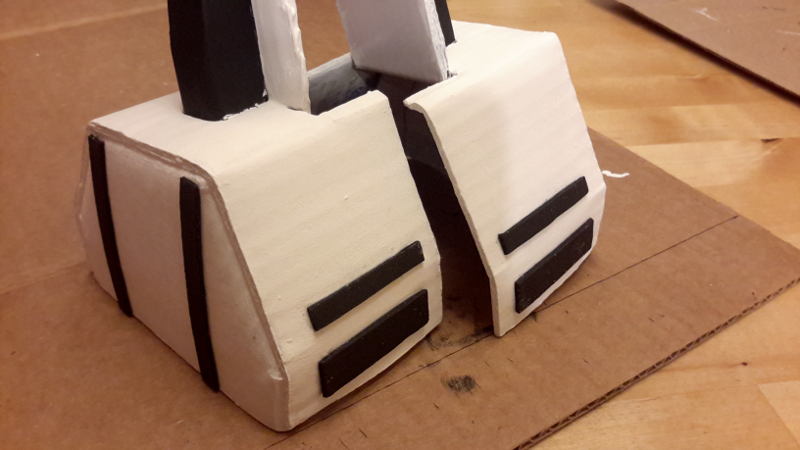
Those were the last parts of the body – now it’s time for more layers of white and black paint and glossy coating.

Mounting the arms

After thinking about the possible features, I decided that my R3-B9 should have two servo-driven arms that sit inside the long horizontal slit in body, together with a bar of four white LEDs. The arms should have a blue LED on the front side, and two white LEDs on the inside, so they extend the four white center LEDs when the arms are opened. Here is the assembly of the arms:

p33 p34 p35 p36p40

The arms are fastened to micro servos which are mounted inside the body on wooden plates.

p37 p38 p39 p41

The provisional installation looks like this:

p42

In the second step, I build the mount for the four white center LEDs. The LEDs are not directly visible, but light through some white plastic (taken from a vinegar bottle).

p43 p44 p45 p46

I really love how this is coming together. Just a few more cosmetic details to add to the body and legs.